|
|
|
|
|
Fuel Tank Sending
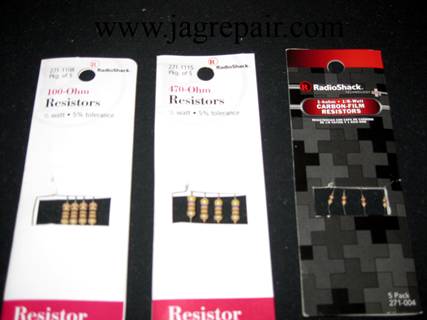
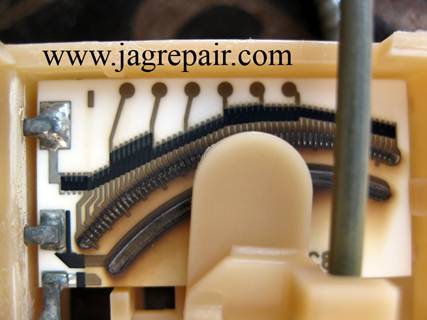
Unit For several months my fuel level indicator in my XK8 would jump from correct level to empty and at times stay on empty. I did not know if it was my level indicator in the tank or the intermittent panel so I did a few checks to verify one or the other and this is what I did. I asked a friend, Steve, how I could identify the problem and he told me that if I did not have a resistance simulator I could use resisters to simulate different level indications in the tank and to do that I needed a few resistors. 82-ohm=Full tank, 470-ohm=Somewhere in the middle and 910-ohm=Empty I purchased a 1-ohm, 470-ohm and a 1k-ohm resisters to do the job. They were the only ones available at the time.
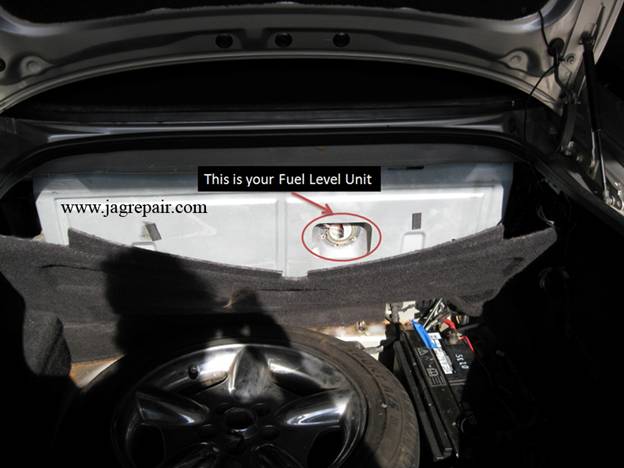
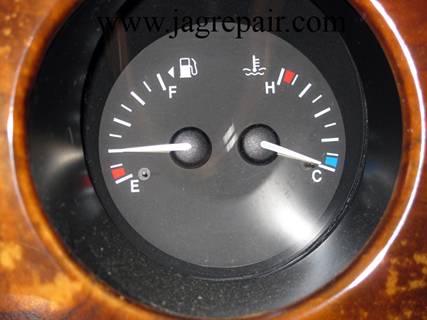
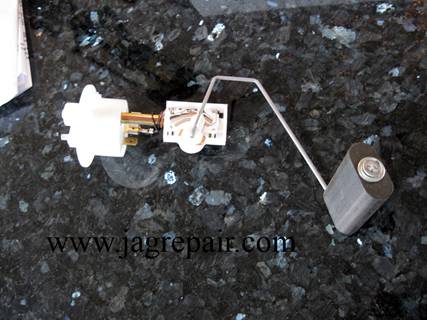
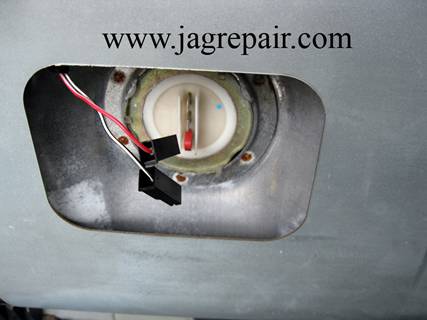
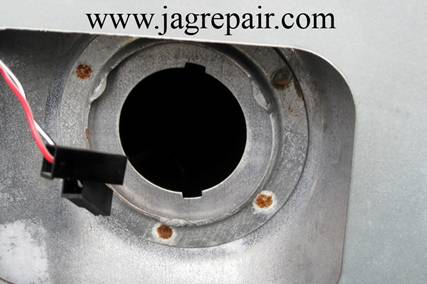
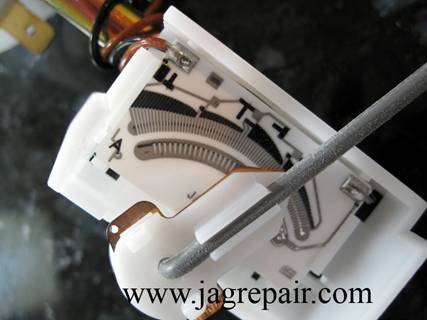
I first identified the location of the level indicator on my 1999 XK8
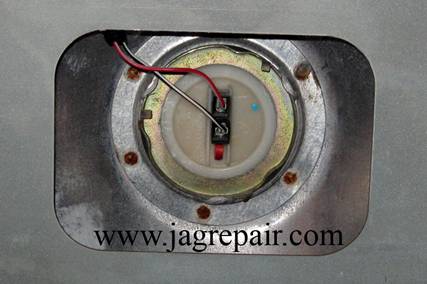
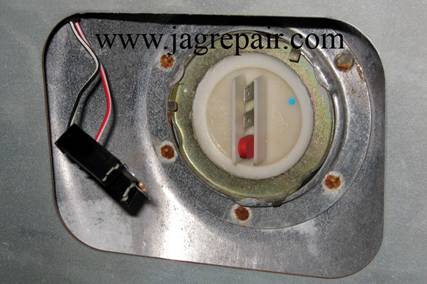
The float only has 2 wires and this process requires you to remove both leads and install a given resister for the results related to that resister. Now I must caution you not to do this when the key is on. The key must be off each and every time you remove the leads from the float and each and every time you install and remove a resister and of course when you connect it all back together.
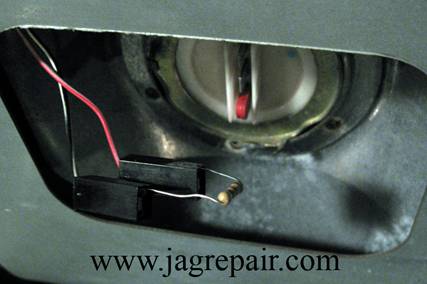
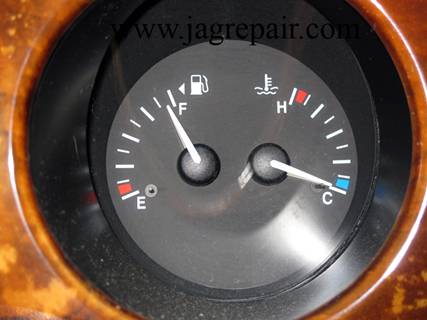
I installed the 470-ohm resister and turned the key on and got a fluid level of ¼ tank.
The ¼ indication was a good indication it was not the instrument panel but still want to make additional checks.
Installed the 1k-ohm and its indication was empty
Empty - It is falling in line with what I was told.
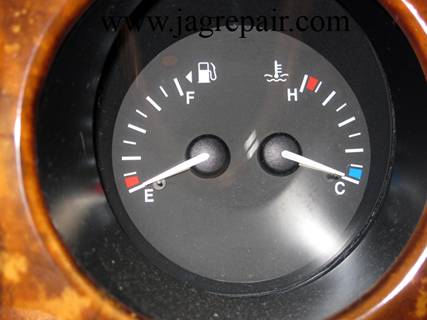
Installed the 100-ohm
Full tank – just what I was told. At this point I identified that the tank float is bad. Now I must replace it.
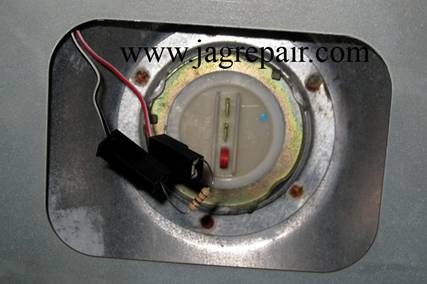
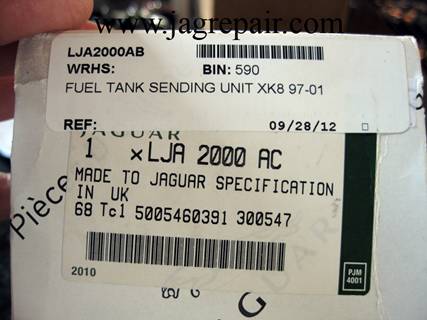
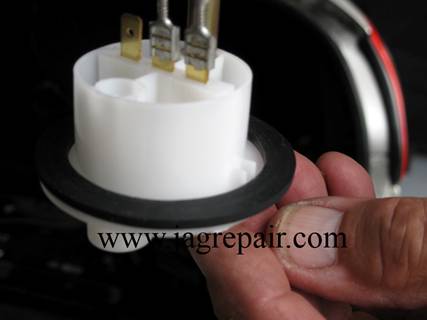
This is the one I ordered.
This float indicates that it will fit an XK8 1997 to 2001. The removal and replacement of the float was not difficult at all. The process was to drain the tank, remove the old float and install the new.
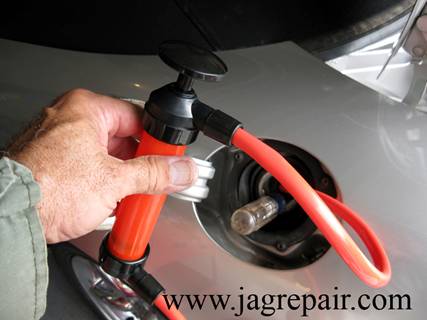
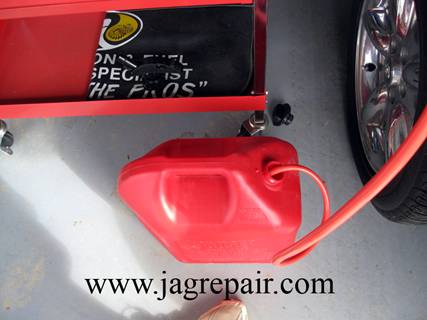
We drove the car to what we thought was a little less than a half of a tank and pumped the rest out into another fuel tank.
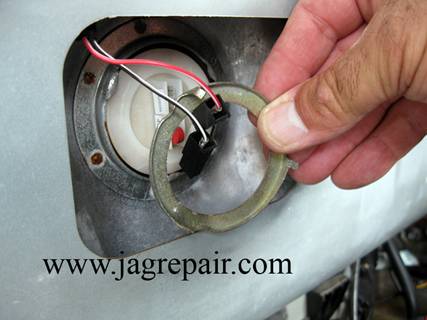
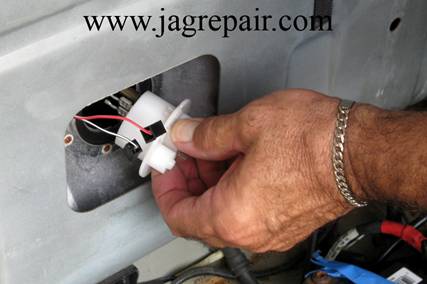
Removed the leads.
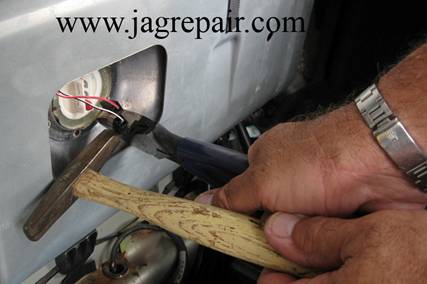
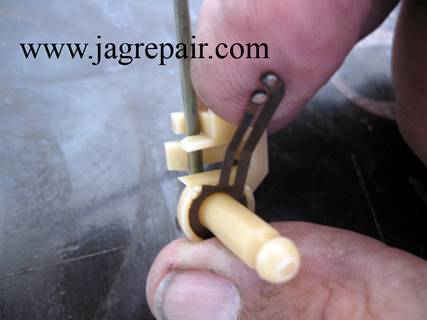
With the leads removed I then used my pliers to grab the ear of the locking rotating ring and with a slight tap with my hammer to rotate the locking ring on the float. I did not have the tool that was designed for this application so I carefully used the pliers to grab the ears of the ring and a slight tap of the hammer to the pliers and the ring came right off.
Installed the new float carefully
In the process of installing the new float I used the old rubber seal. Installed the locking ring the same way I removed it but made sure I applied the same rotating pressure using each one of the ears on the ring to ensure no leaks. I did let it sit for a moment and gave it a few more taps to ensure a good seal. Whatever you do, do not over do it. A few photos of the old and new float.
Old
Old
New. Job done and the fuel indication is back to normal.
|
|
|